


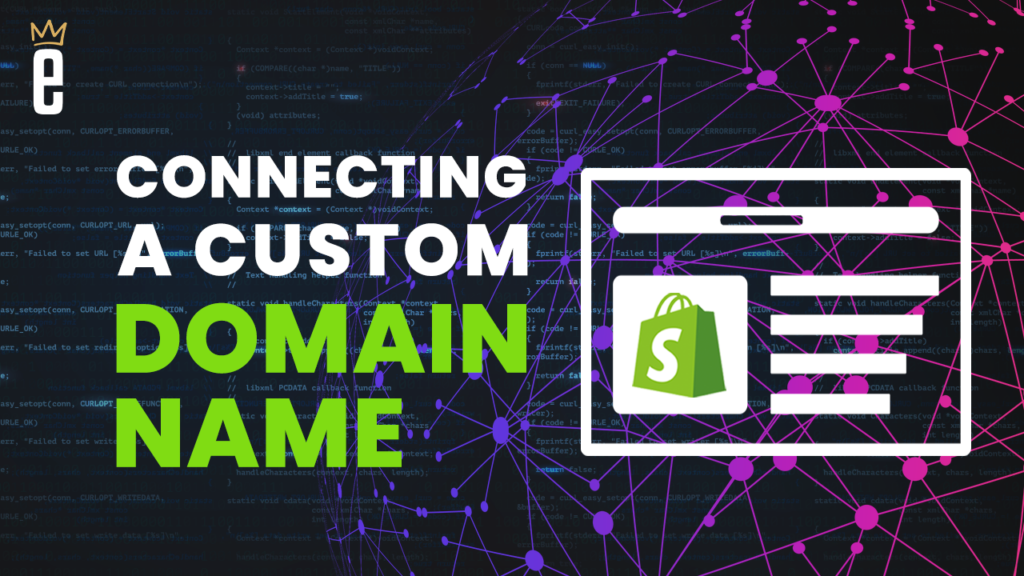
Why should I use a custom domain name?
When you signup for a Shopify account, you’ll be asked to give your store a name. This name will help determine what your store’s URL is going to be. This is the URL that customers can use to find your store online and, by default, it will look something like storename.myshopify.com. While this does the job, it’s best to use a custom domain name for a few reasons:
- a custom domain is typically easier to remember and more convenient for customers to type into their browser
- it solidifies your online brand identity
- it makes your store look more professional
How to connect a custom domain to your Shopify store
- In your Shopify admin, click on Online Store in the left-hand menu. Then, click on Domains.
- Click on Connect Existing Domain. Enter your domain name and click next.
- Now, you’ll need to login to your account where your domain is registered. For this example, we are connecting a domain that is registered with GoDaddy in this example.
- Once logged into GoDaddy, click on the account name in the top right corner and select My Products. Find the domain you’d like to connect and click on DNS.
- Edit your A record so that it points to Shopify’s IP address: 23.227.38.65
- Next, change your www CNAME record to point to shops.myshopify.com
- Now, go back to your Shopify admin and click on the Verify Connection button. If all goes as planned, you should get a message that says “Your domain was successfully connected”.
Please note that it can take up to 24 hours for the changes to propagate. This just means that it takes a bit of time for the DNS changes to take effect.