




Quick Steps
- In your Shopify admin, go to Content > Blog posts and click Add blog post.
- Add a title and your content, then format it and add links.
- Add images and a YouTube video to the content.
- Fill in the excerpt, check the search engine listing and set the visibility.
- Add a featured image, author, blog and tags, then click Save.
Why Add a Blog to Your Shopify Store
Adding blog posts to your Shopify store can lead to a few nice benefits. Here are a few reasons to start writing:
- More organic traffic: Blog posts can help contribute to an increase in your organic traffic.
- A home for your content: Your blog gives you a place to host content that you can later share on social media.
- Fresh content on your home page: If your theme features blog posts on the home page, your newest post shows up there for shoppers to read.
How to Add a Blog Post to Your Shopify Store
The video was recorded in 2022, so your Shopify admin may look a little different. The steps follow the video, and we point out what has moved in the section after the steps. Everything below is done right in your Shopify admin, and the images are made in Canva.
Step 1: Go to Blog Posts
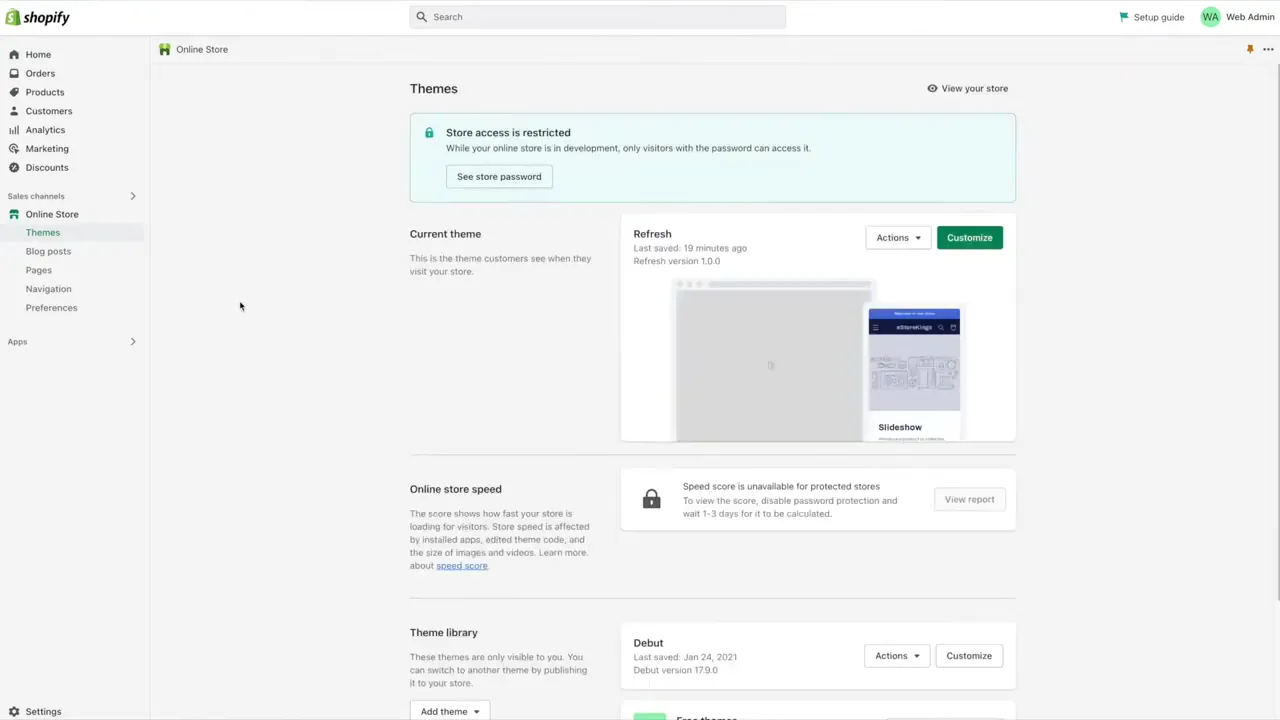
- From your Shopify admin, look under Sales channels and click on Online Store.
- Click on Blog posts. If this is your first blog post, the list will be empty.
- Click on Create blog post.
Step 2: Add a Title and Your Content
- Give your blog post a Title.
- Click on the Content box and enter your text. You can write it right there, or copy and paste it from a Word document or Google Docs.
- Clean up the pasted text and check for spelling mistakes and last minute changes.
Step 3: Format Your Text and Add Links
- Bold or italic: Highlight the text and click the bold or italic icon. Shortcut keys work too, just like in other apps.
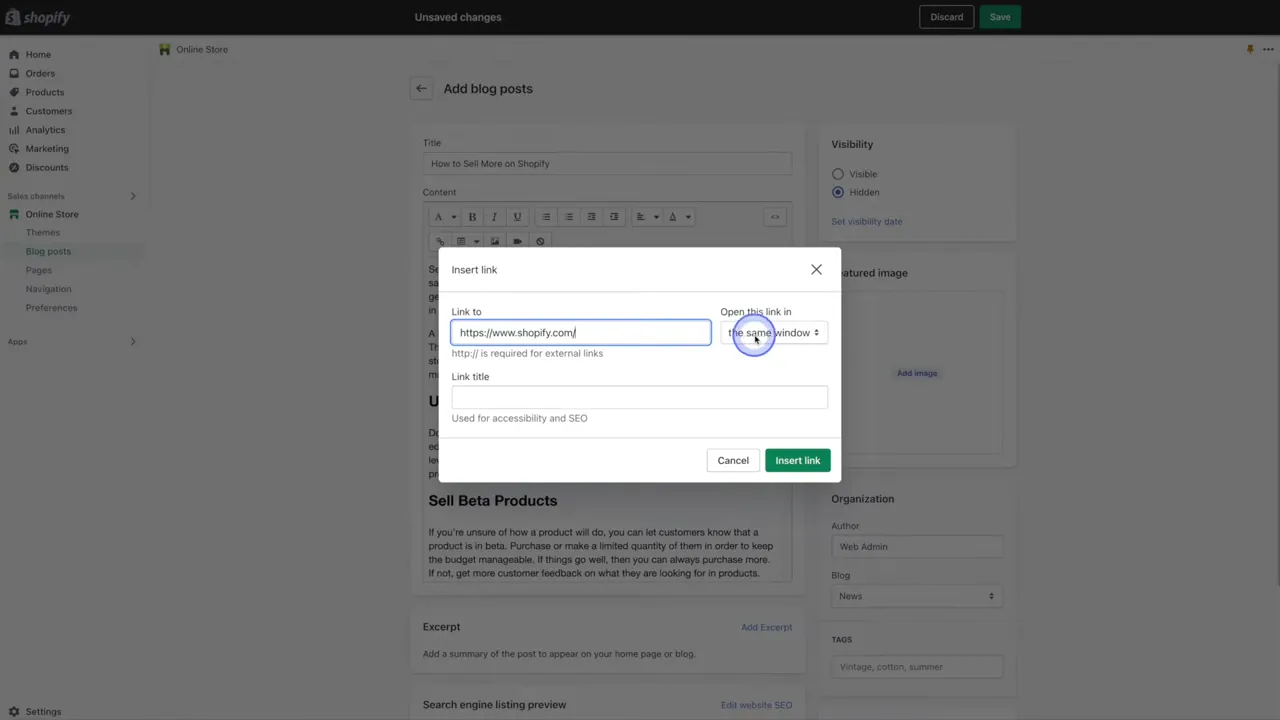
- Links: Highlight the text, click the hyperlink icon and add your link. Choose whether it opens in the same window or a new window, and add a link title, which is used for accessibility and SEO. Then click Insert link.
Step 4: Add an Image
Don’t have an image yet? You can make one quickly in Canva. In the video, DigitalGrl searches Canva for a blog template, picks the Blog Banner option to get the right shape, clicks Add page to make a second image with the same size, drags a stock photo from the Photos tab onto it, then clicks Share > Download and saves it as a PNG or JPG. Find more ideas on our Canva Tutorials page.
Then, back in Shopify:
- Click in the content area where you’d like the image to go.
- Click on the Insert image icon, then Upload file, and wait for your image to upload.
- Select the image, add some image alt text and choose the size.
- Click Insert in the bottom right corner.
Step 5: Embed a YouTube Video
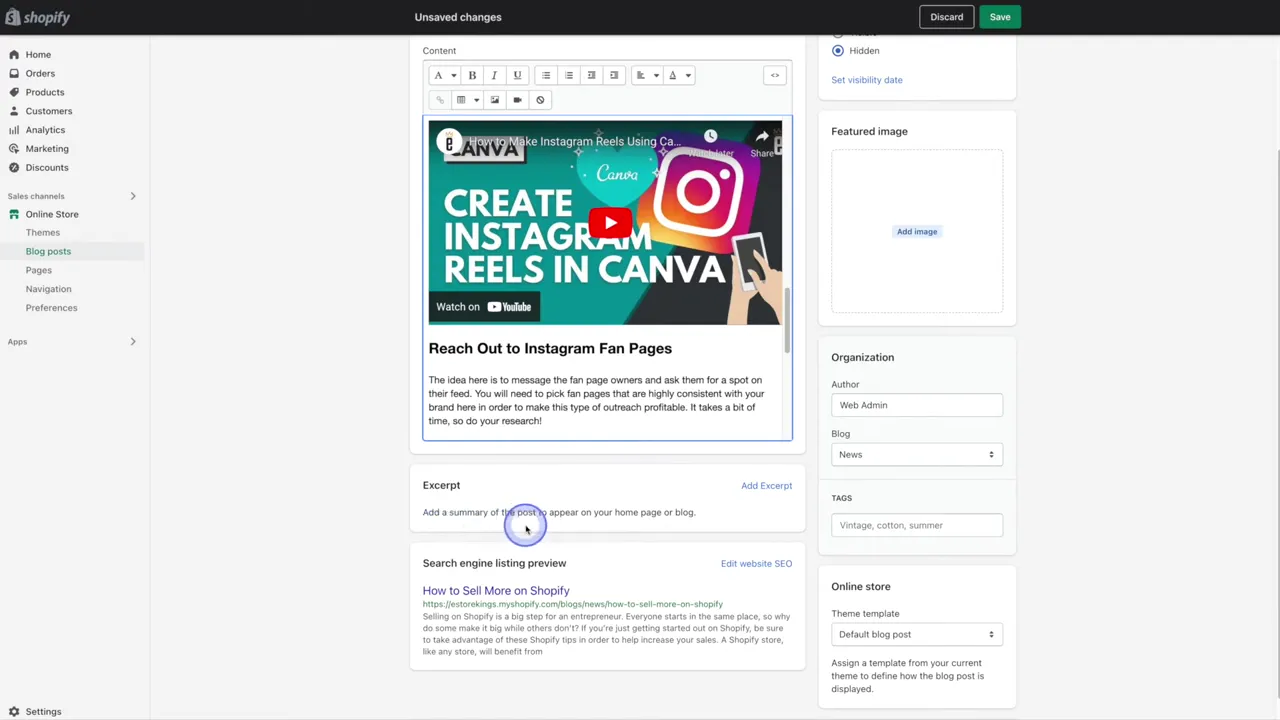
- On YouTube, click Share under the video, then Embed, and copy the code.
- Back in Shopify, click in the content area where you’d like the video to go and click on the video icon.
- Paste the code into the box and click Insert video.
Step 6: Add an Excerpt and Check the Search Listing
- Excerpt: Click Add excerpt and write a very brief summary of the post. It will appear on your home page or blog.
- Search engine listing preview: This pulls from your blog post content. If you’d like to change it, you can edit it here.
Step 7: Choose When Your Post Goes Live
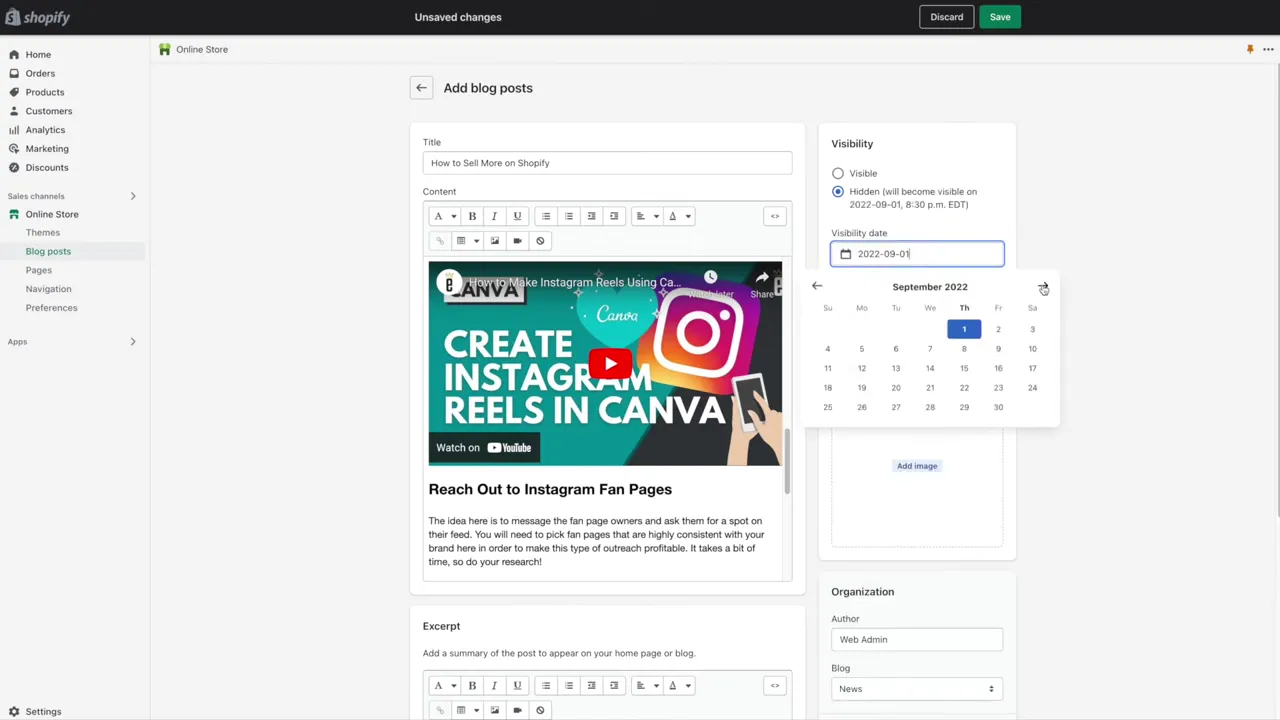
In the Visibility section, the post starts out as Hidden. You can make it Visible so it goes live as soon as you save, or set a visibility date and time to schedule it for later.
Step 8: Add a Featured Image
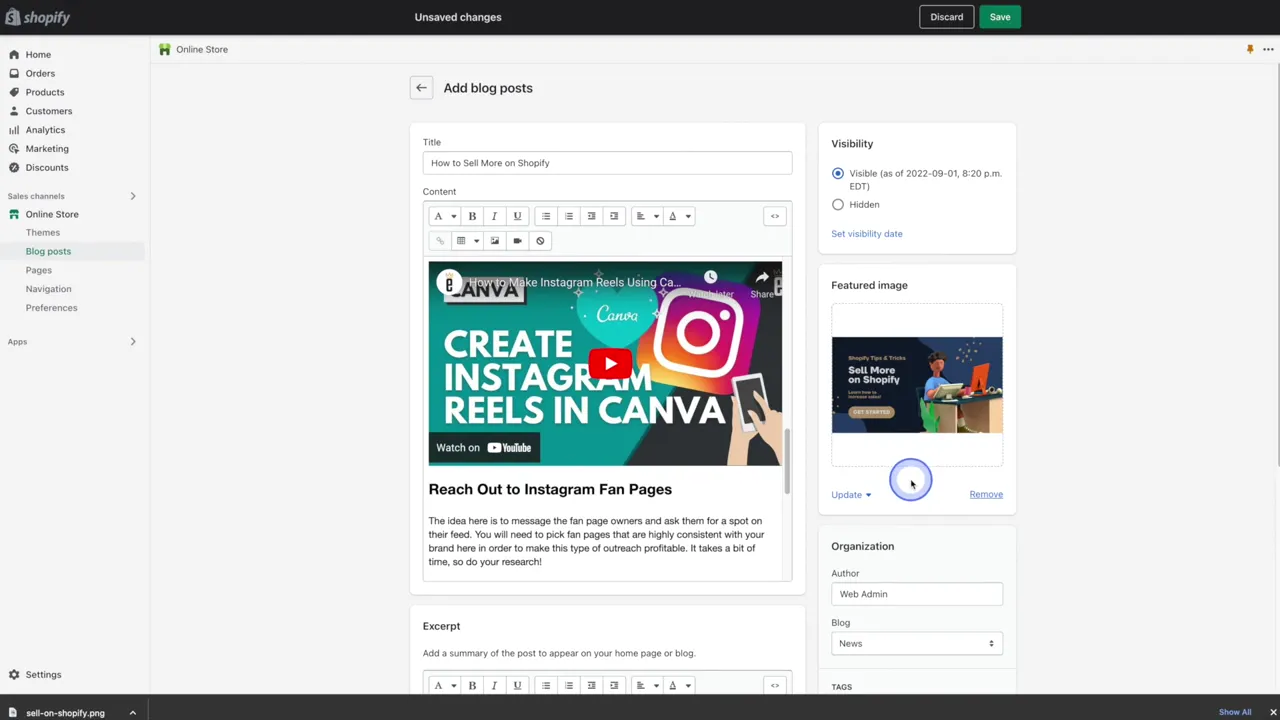
The featured image is the main image that goes along with your blog post. In the video, DigitalGrl edits the Canva blog banner from earlier (double click the text to replace it, and change the background color if you like), downloads it, then clicks Add image in the Featured image section in Shopify.
Step 9: Pick the Author, Blog, Tags and Template
- Author: Update it if you’d like.
- Blog: Add the post to an existing blog or create a new blog.
- Tags: Add any tags that are relevant to help keep your blog posts organized.
- Theme template: Some themes, like the one in the video, only have one blog post template. Other themes, including customized ones, may give you more options.
Step 10: Save and View Your Post
Click Save. You’ll see a message that says your blog post has been created. Click View to see it live with your featured image, text, image and video. If your theme shows blog posts on the home page, refresh it and your new post will be there, ready for people to read.
Want a permanent page instead of a blog post, like an About Us page? See how to create and edit pages in Shopify.
What’s Changed Since the Video
The video was recorded in 2022. Writing a blog post works the same way, but where you find it has moved:
- Blog posts is now under Content: In the video, Blog posts sits under Sales channels > Online Store. Today you’ll find it at Content > Blog posts in your Shopify admin.
- The button is now Add blog post: In the video it’s called Create blog post.
For Shopify’s current steps, see Adding and managing blog posts in the Shopify Help Center.
Frequently Asked Questions
Yes. In the Visibility section, set a visibility date and time and your post will go live then.
Yes. Copy your text and paste it into the Content box, then clean it up and check for spelling mistakes before you save.
The excerpt is a short summary of your post. It appears on your home page or blog.
Some themes, like the one used in the video, only come with one blog post template. Other themes, including customized ones, may have more options.
For more tutorials, visit our Shopify Tutorials page or subscribe to our YouTube channel. You can also signup for our email newsletter below for free resources and the latest tutorials!