




Quick Steps
- In Canva, go to Templates > Resume (or search for it).
- Pick a template and replace the photo and header image.
- Replace all of the text and remove anything you don’t need.
- Add a subtle touch of the company’s brand color using its hex code.
- Click Download and choose PDF Print or PDF Standard.
Why Design Your Resume in Canva
A resume that looks professional helps you stand out, especially when yours is one of many in a stack. Canva has a whole bunch of resume templates, so you can start from a polished layout and make it your own.
- Lots of templates: Sort them by type or by color to find one that fits.
- Easy to customize: Swap in your photo, your details and your own header image.
- Tailored to the job: Customize the resume for the position and design it for the company you’re applying to.
- Shows extra effort: Adding the company’s brand colors shows you went the extra mile and did your research.
How to Design a Resume in Canva
The video was recorded in 2021, so Canva may look a little different on your screen.
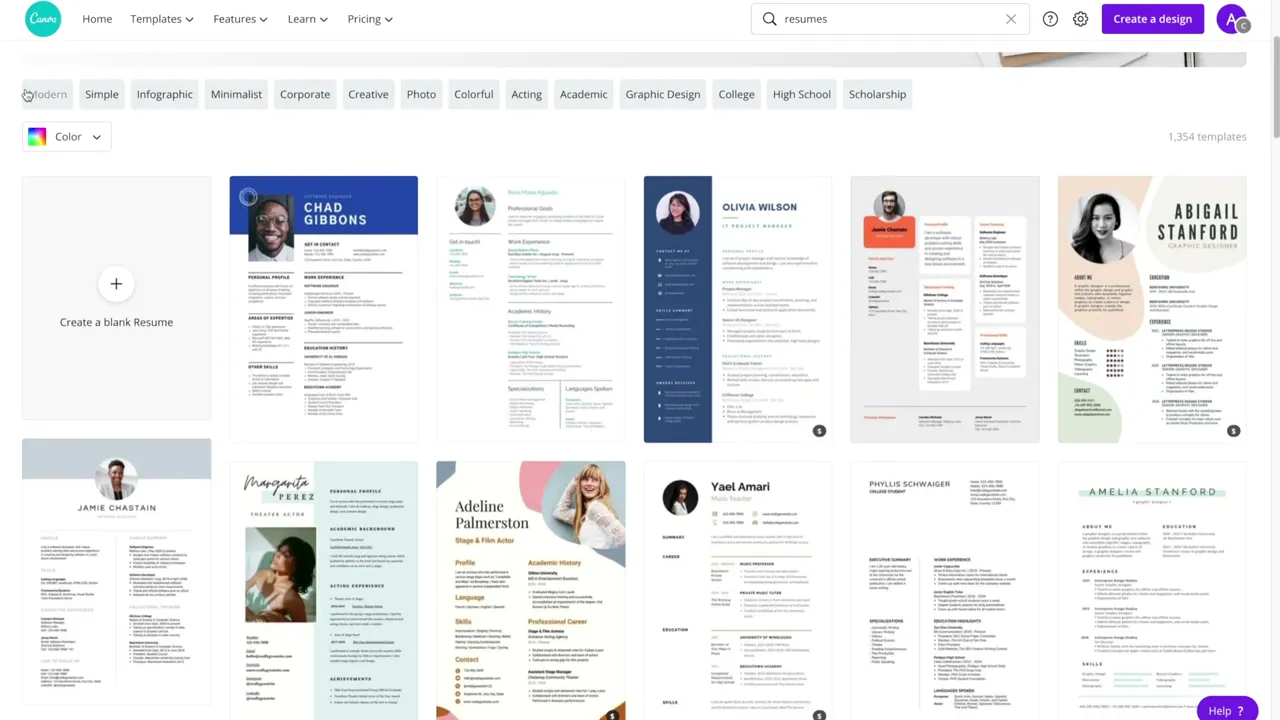
Step 1: Find a Resume Template
From the Canva home page, head up to Templates and, under Personal, click on Resume. If your menu looks different or you don’t see Resume, search for it in the search bar. Sort the templates by type of resume or by color, then click one to get started. You can also view a template first to see a description and the colors and fonts it uses. Changed your mind? Pick a different template from the left-hand side.
Step 2: Replace the Profile Picture
You don’t have to include a profile picture, but it is quite common these days. To add yours:
- Go to the Uploads tab and click Upload media, then upload your photo.
- Drag and drop it onto the photo circle.
- Double click to reposition it or make it larger or smaller, then click outside or click Done.
Step 3: Change the Header Image
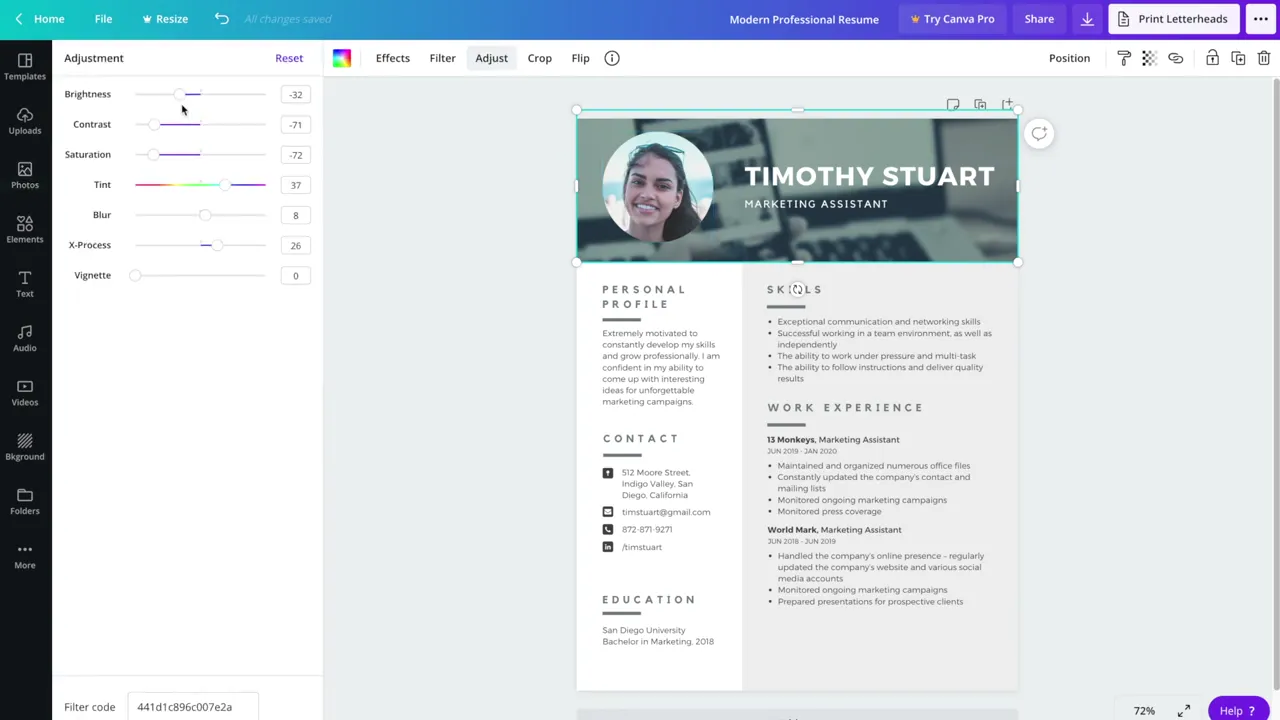
- Find a photo that relates to the company or the position you’re applying for, and drag and drop it into the header.
- Click the header image and go to Adjust to change the settings the template applied, like blur or contrast. In the video, DigitalGrl makes it a bit darker so the text pops.
- To make the text stand out even more, click the text, then Effects, and try the Lift effect. It’s subtle, but it makes a difference.
Step 4: Replace the Text
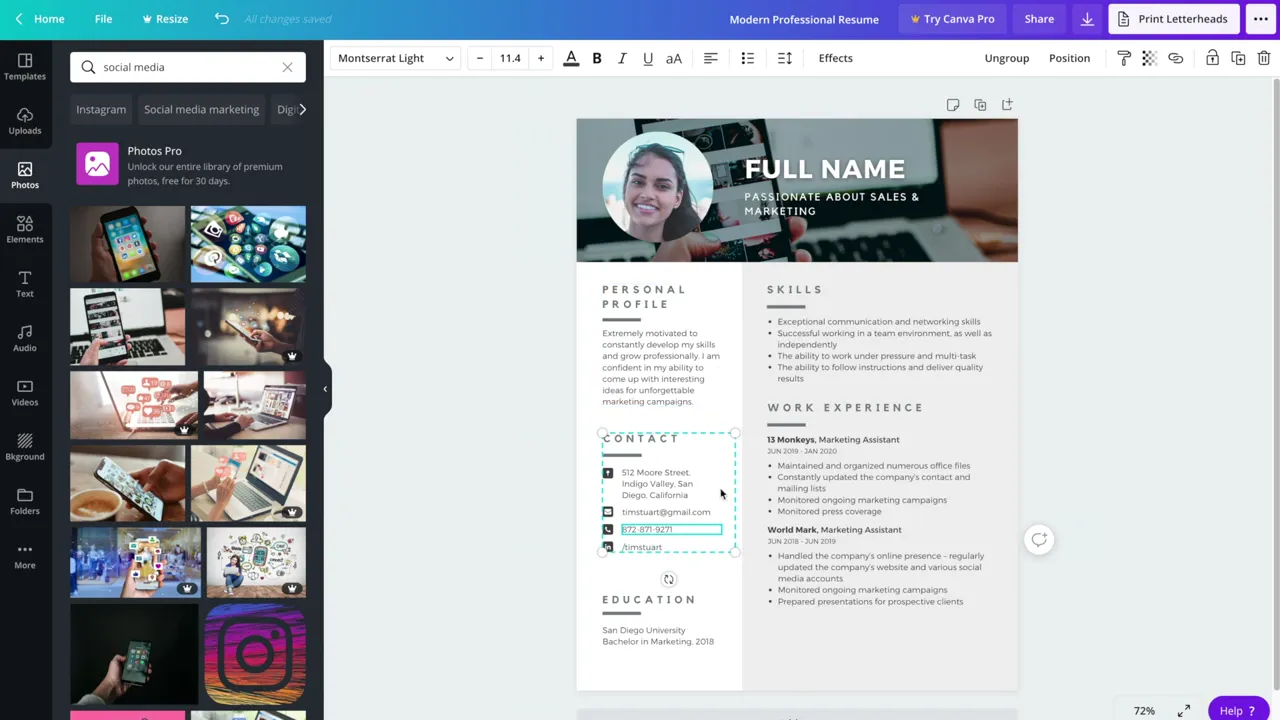
Go through the resume and replace all of the text with yours: the position you’re applying for (or a short slogan about yourself), your personal profile, contact information and social media handles.
Step 5: Remove What You Don’t Need
- Sections are often grouped together. Click the section and click Ungroup at the top.
- Click outside, then click just the piece you want to remove, and delete it with the trash can icon or your backspace key.
- To close up the gap, select the remaining group and nudge it with your arrow keys. Hold Shift to move faster, or drag it.
Step 6: Add a Touch of the Company’s Brand Color
DigitalGrl’s tip: customize your resume not only for the position but also for the company. Look up the company’s logo or brand colors and grab the hex code. In the video she uses a Chrome extension called Eyedropper to pick the color from the company’s website.
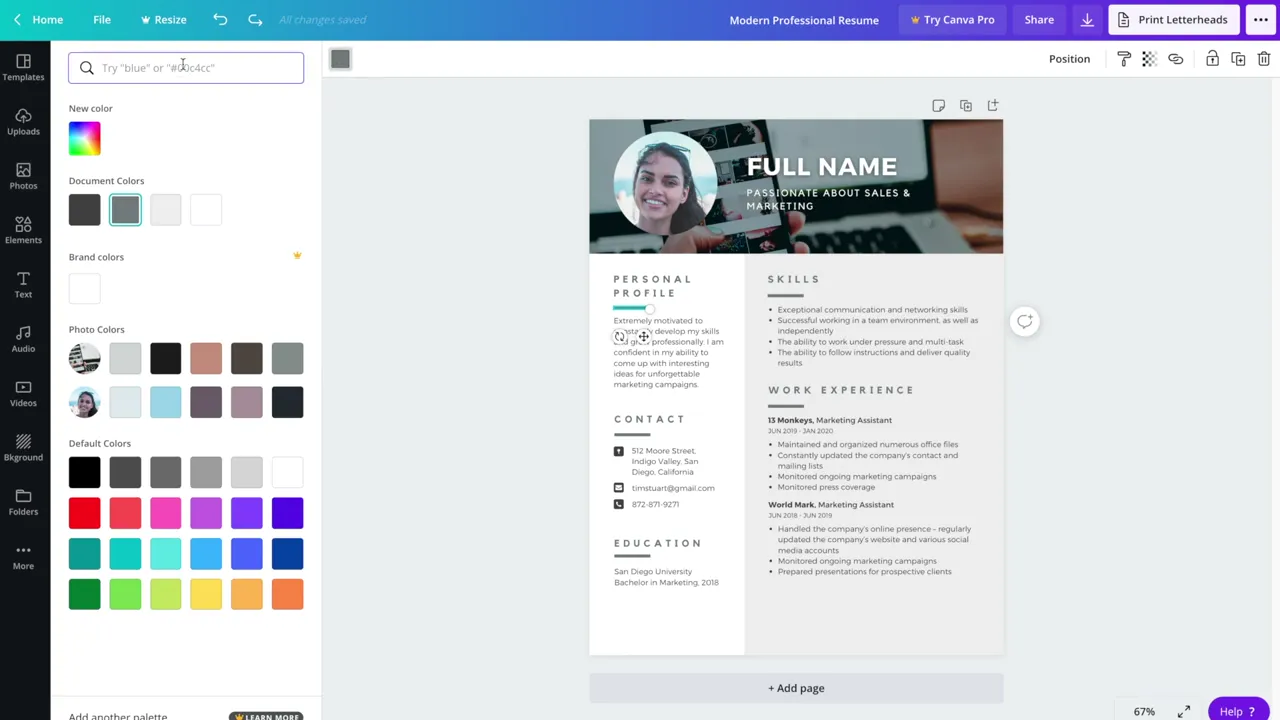
- Click an element, like a divider, then click the color in the top left and paste the hex code.
- To change several elements at once, ungroup them, hold Shift and click each one, then change the color one time.
- Keep it subtle. You want to stand out without overwhelming the reader.
Made a mistake? Press Control + Z or Command + Z to undo, just like in any other program.
Step 7: Download Your Resume
Once you’re happy with it, click Download. Choose the file type that fits how you’ll use it:
- PDF Print: Best if you’re printing your resume and handing it out. The file is larger, but the print quality is better.
- PDF Standard: Fine for emailing or uploading to a job site. The file is smaller, which helps because some sites limit how large a file can be.
Then click Download. For more design ideas, browse our Canva Tutorials.
Frequently Asked Questions
Use PDF Print if you’re printing it, since the quality is better. Use PDF Standard for emailing or uploading, since the file is smaller.
Click the section, click Ungroup, click outside, then click just the piece you want and delete it.
Ungroup them if needed, hold Shift and click each element, then change the color one time.
For more tutorials, visit our Canva Tutorials page or subscribe to our YouTube channel. You can also signup for our email newsletter below for free resources and the latest tutorials!