


The Importance of Testing Your Email Campaigns
Previewing and testing an email campaign before sending it out to your audience, especially when using a service like Mailchimp, is always a good idea. Here are just a few important reasons for sending out a test email to yourself or your internal team before hitting that send button.
- Detect and correct errors: Sending a test email will ensure that you spot and correct typos, grammatical errors, and other mistakes that could detract from your message’s professionalism and clarity.
- Test different formats: Email campaigns can look different across various email clients like Gmail and Outlook, for example. They also change depending on the type of device and screen resolution on which your recipient is viewing your email.
- Check links: It’s crucial to verify that all links in your email are working and lead to the correct pages and websites. This includes checking any call-to-action buttons, social media links, or any other interactive elements. You’ll also want to verify that all necessary tracking is in place and appended to each link.
- Quick load times: Testing helps identify any issues with load times, especially if your email contains larger images or other files that might take longer to load on certain devices or internet connections.
- Personalization accuracy: If you’re using personalized elements like recipient names or other dynamic content, sending out a test email ensures that these elements are properly integrated and displayed. For a list of Mailchimp merge tags that can be used to personalize your email campaigns, click here.
- Spam filter check: Testing helps determine if your email might trigger spam filters, allowing you to make necessary adjustments to avoid having your email end up in a recipient’s spam folder.
- Subject line length and effectiveness: You can evaluate how your subject line appears in different email clients, ensuring that it stands out and is not cut off. If you use emojis in your subject lines, you can test that they are displaying correctly as well.
Remember, the goal of testing and previewing is not just to fix mistakes but to optimize the overall effectiveness and impact of your email campaign.
How to Preview and Email Campaign
- Click on Campaigns in the left-hand menu of your Mailchimp account.
- Click on the title of the campaign you’d like to preview or hit Edit on the far right.
- You will be taken to your campaign where you’ll see a mobile preview on the right-hand side. Click on the Preview link in the top right-hand corner of the page. Alternatively, you can click Edit Design in the Content section and then hit Preview in the top right of the design/build page. Both options will bring you to the Preview page as seen below.
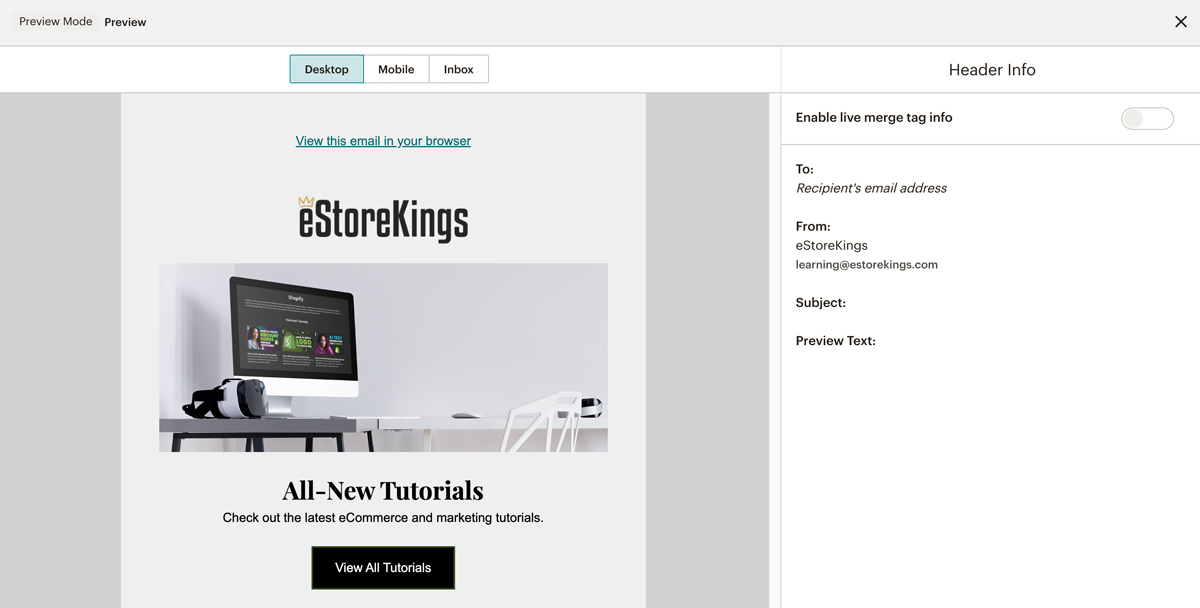
- At the top of the page, you can switch between Desktop, Mobile and Inbox to view the email in different sizes and scenarios. You can also toggle the Header Info off and on to view any merge tag info you have in place.
How to Send a Test Email
In Mailchimp, you can send a test email out to your own email address or to your team to see what the email will look like and so that you can review and approve the campaign.
- Click on Campaigns in the left-hand menu of your Mailchimp account.
- Click on the title of the campaign you’d like to preview or hit Edit on the far right.
- You can access the test email screen in two ways:
- Click on the Send a Test Email link found just above the mobile preview on the right.
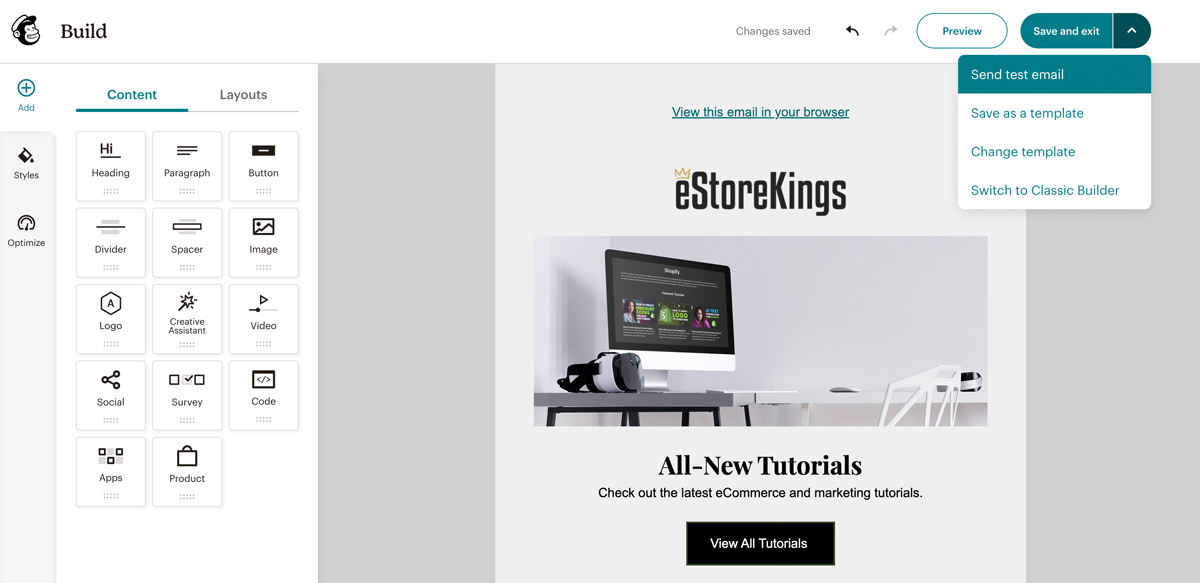
- Click on the Edit Design button found in the Content section. Then, click on the downward arrow next to the Save and Exit button. Select Send Test Email.
- In the popup window, enter the email addresses that you’d like to send the test to. You can include multiple email accounts so long as you add commas to separate them.
- Add instructions or a personal message for your team to see when viewing the test email (optional).
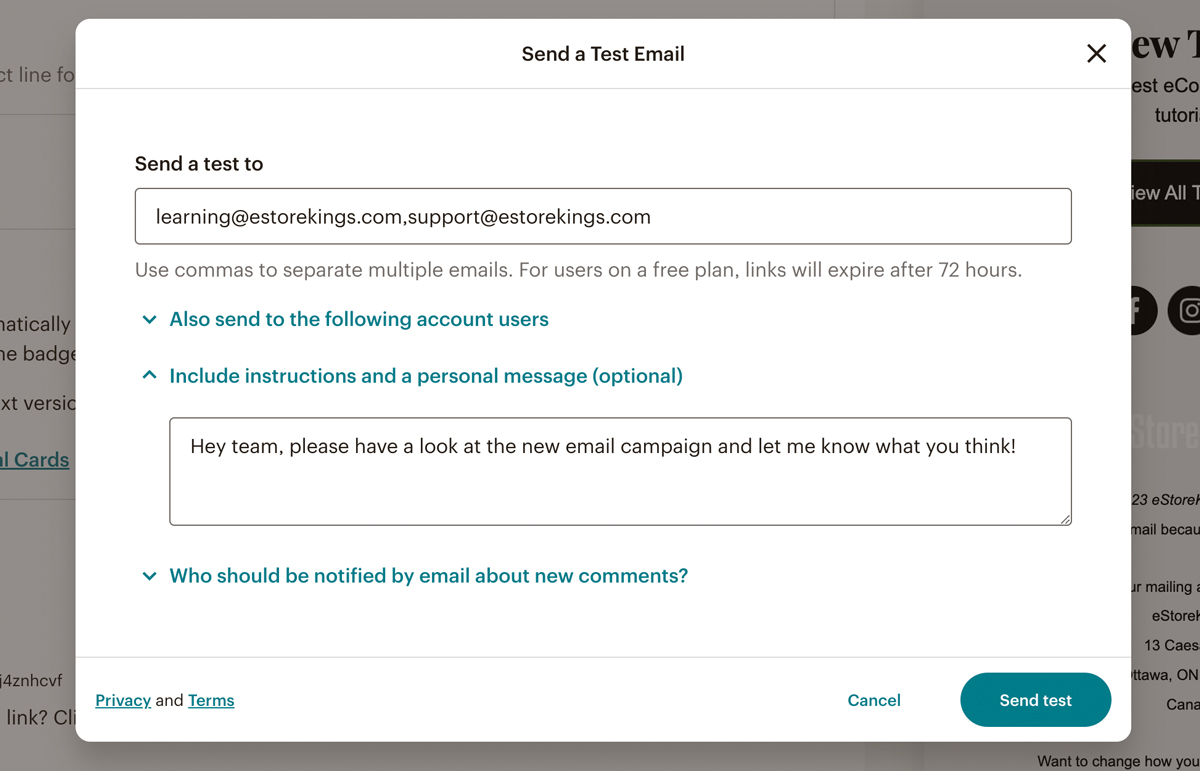
- Once you’re ready, hit Send Test.