


What is an Unsubscribe Page?
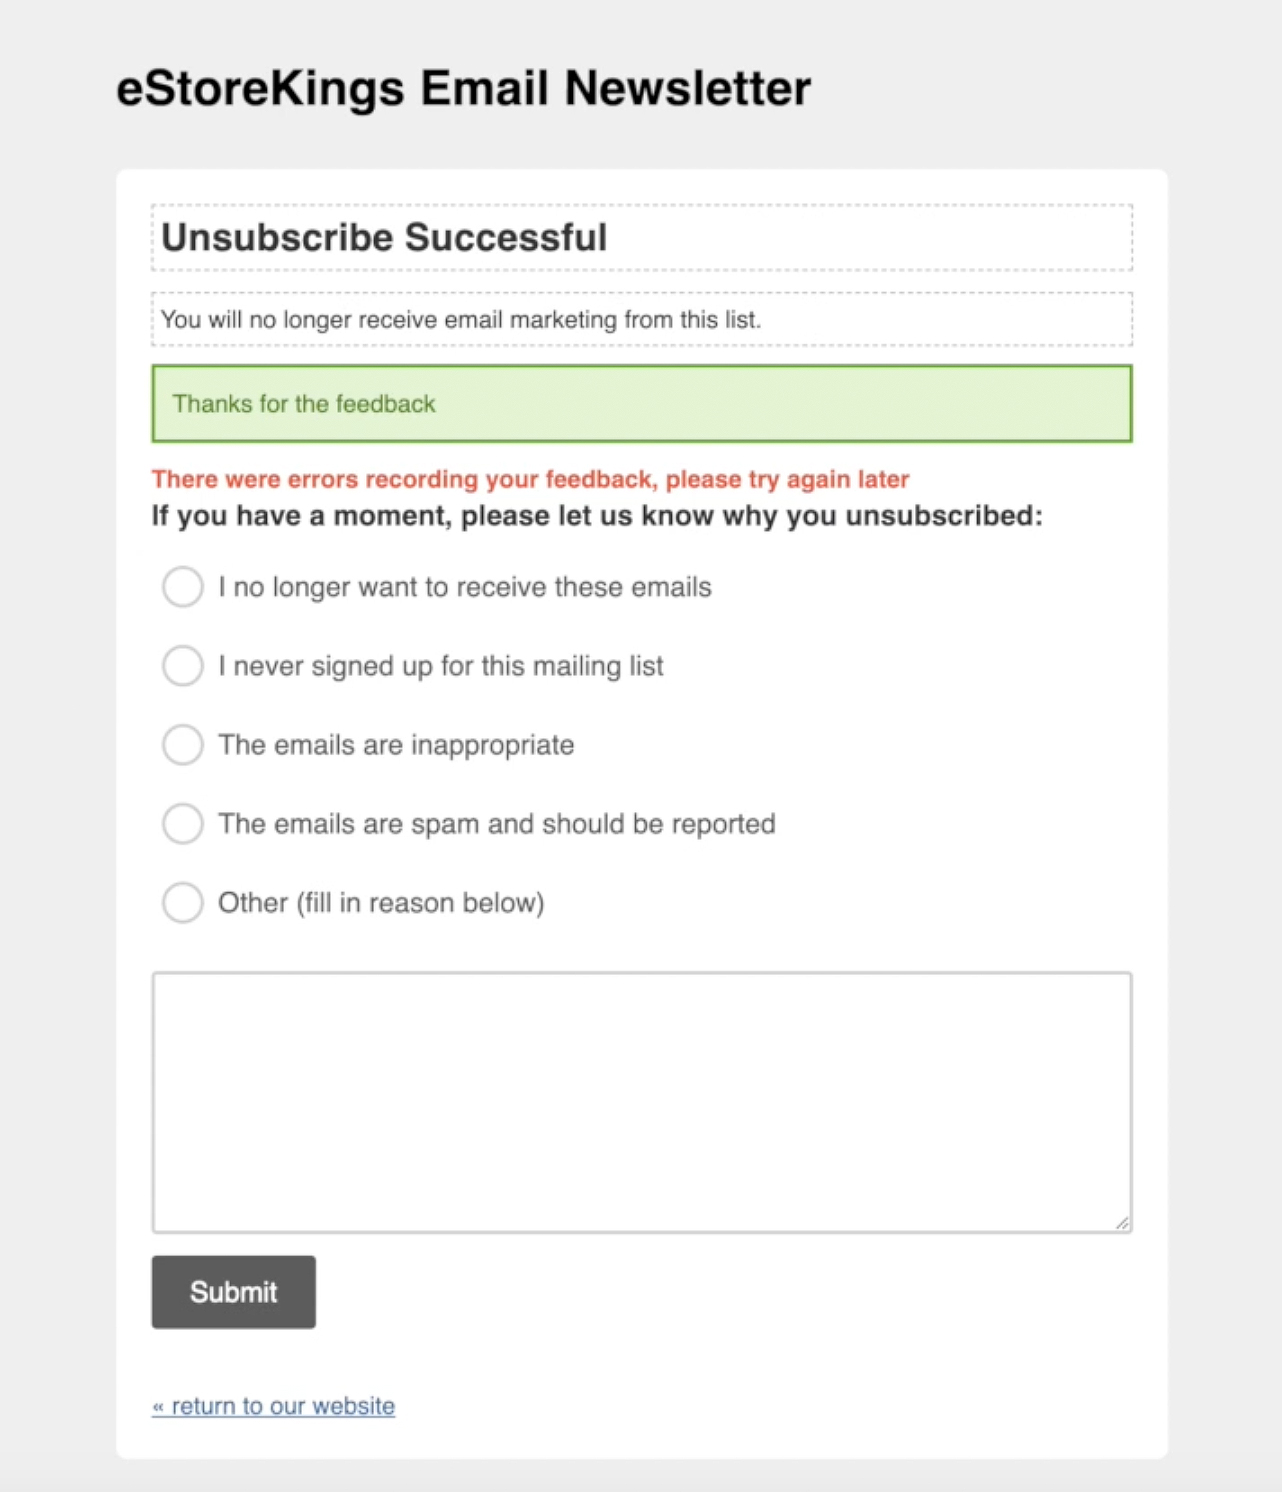
The Mailchimp Unsubscribe Success Page is the form that someone sees when they unsubscribe from your email list. After clicking on the unsubscribe link found in your email campaign footer, they will be taken to a webpage that asks them why they have decided to unsubscribe. By default, the set of radio buttons are relatively generic and will typically include the following choices:
- I no longer want to receive these emails
- I never signed up for this mailing list
- The emails are inappropriate
- The emails are spam and should be reported
- Other (with a space to fill in more details)
While these choices are good to have, they aren’t overly helpful in that they are not specific to your brand or business. You may want to get even more detailed and ask questions like, “Your product is too expensive” or “I am sent emails too frequently”.
Asking specific questions can help you learn more about your audience and their preferences which lets you foster a better relationship for the long run.
How to Edit Your Mailchimp Unsubscribe Success Page
- In the left-hand menu of your Mailchimp account, click on Audience followed by Signup Forms.
- Select Form Builder.
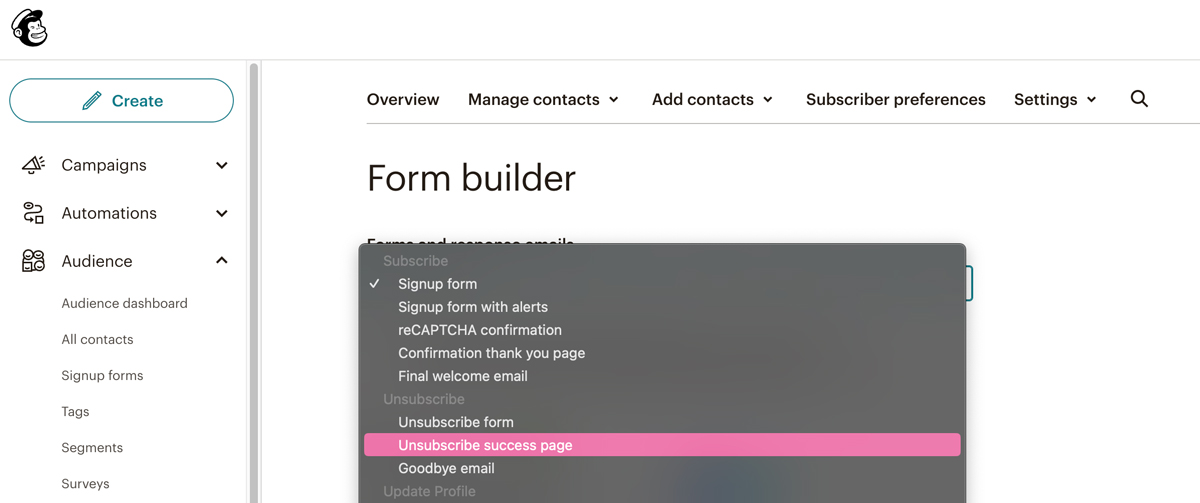
- Select Unsubscribe Success Page from the Forms and Responses Emails dropdown menu.
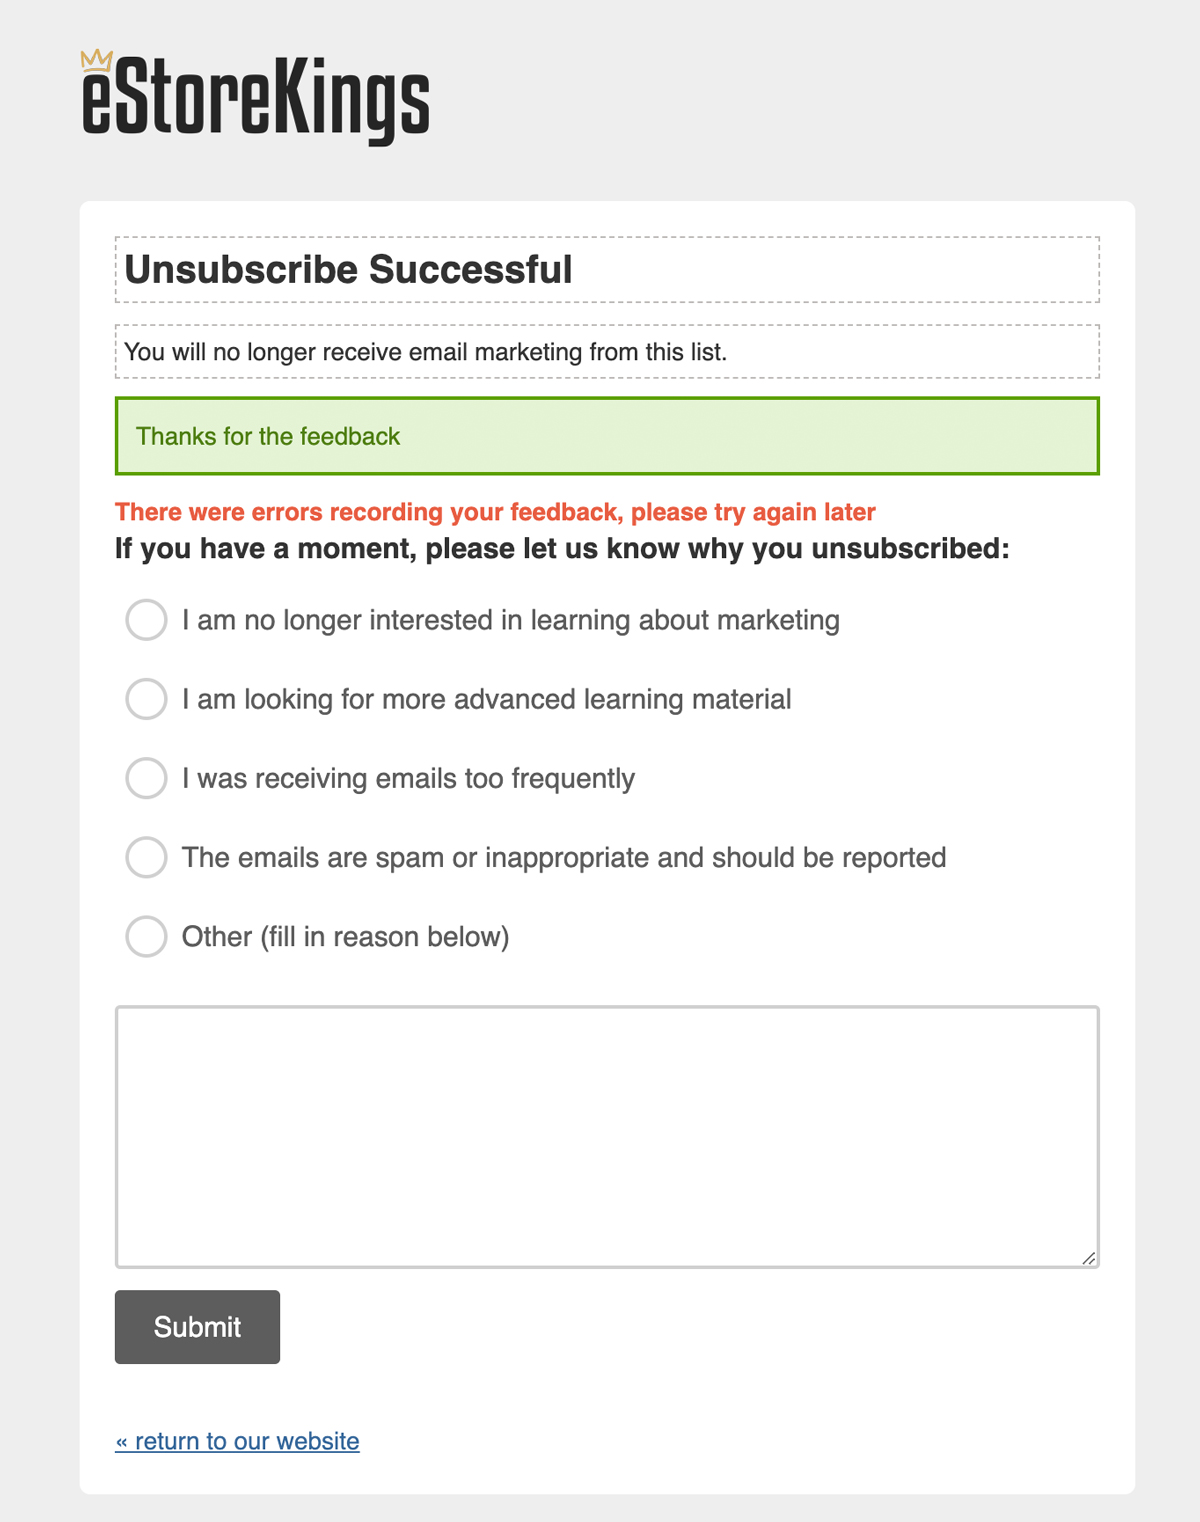
- This will load your current page along with the set of questions you currently have in place. If you’ve never edited this page before, the questions will be the default questions that Mailchimp uses which are pretty generic. Here is an example of an Unsubscribe Success Page before making any edits:
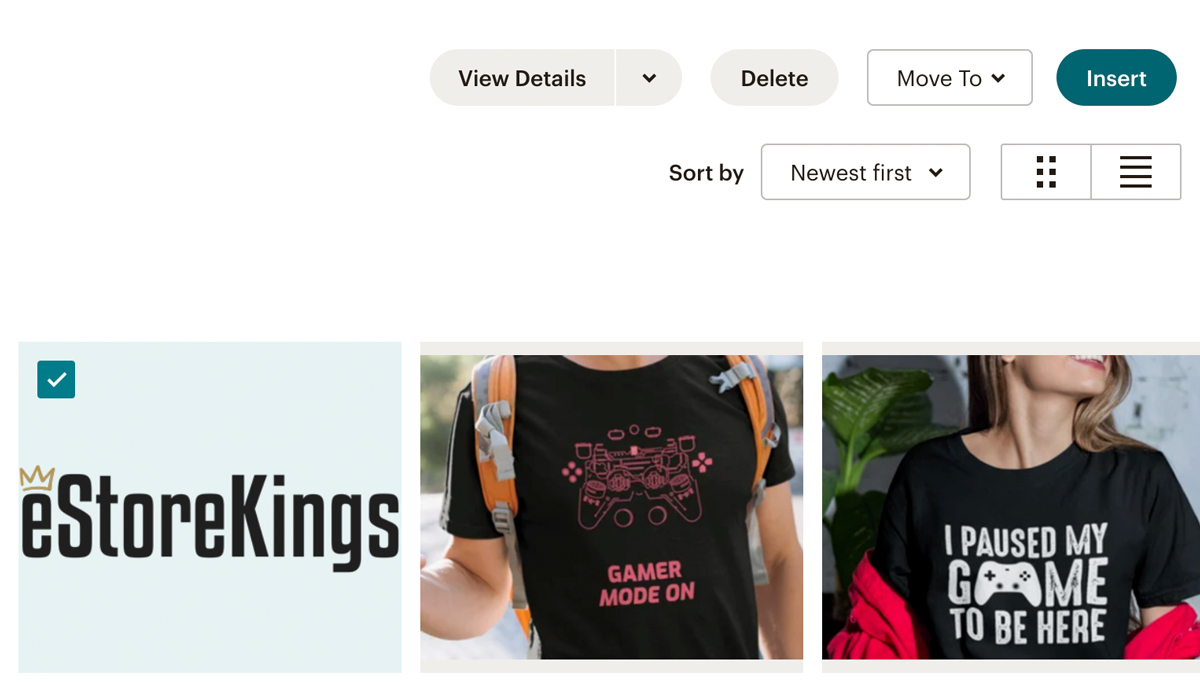
- Starting from the top, let’s make our changes. To add your logo (as opposed to using text at the top of your page), hover over the text and hit Use Image. Upload or select an existing image and then click on the Insert button in the top right.
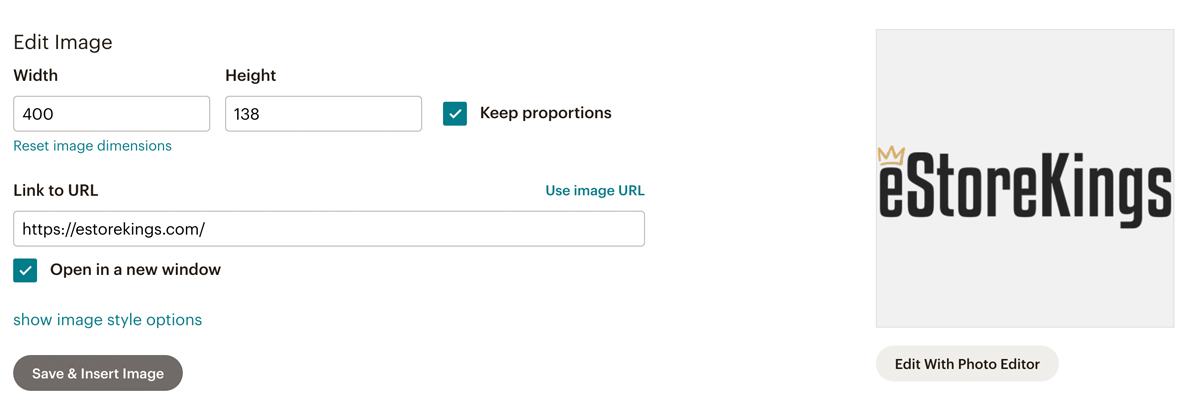
- Modify the image’s Width and Height if necessary and add a link to the Link to URL field. Then, hit Save & Insert Image.
- Next, edit the other text areas by hovering over them and clicking on the Edit button. Make your edits and then hit Save & Close.
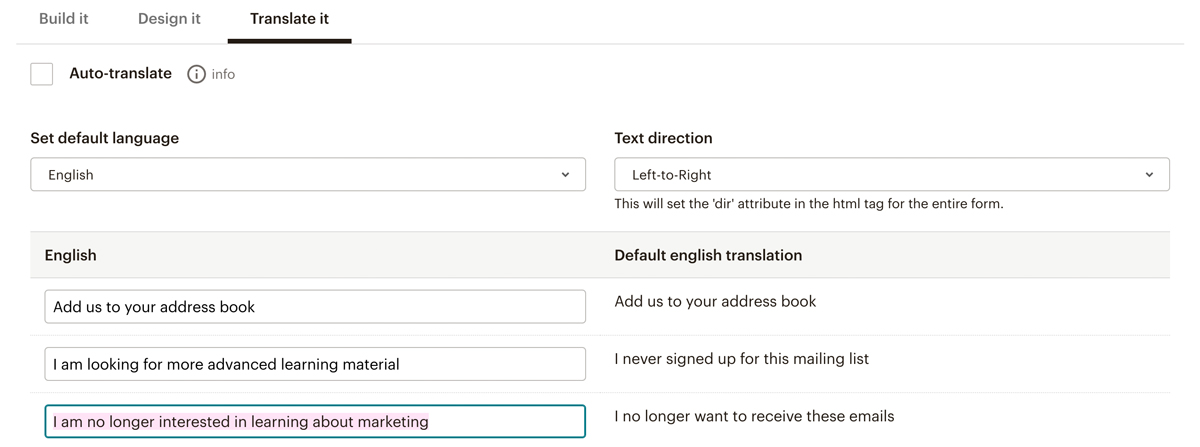
- To edit the set of questions listed on your page, click on the Translate It tab found above the area you are currently editing.
- Find the fields you’d like to edit. For example, we changed “I no longer want to receive emails” to “I am no longer interested in learning about marketing”. It’s a little more tailored to our content and email newsletters.
- Continue with making your edits and then hit Save Translation Settings at the bottom of the page. If you go back to the Build It tab, you’ll see your updated Unsubscribe Success Page.
For more tutorials, check out our Mailchimp Tutorials page and be sure to signup for our email newsletter below for free marketing resources and more!